Why I Use Cloudflare Origin Certificates
When people think about SSL certificates, they often assume they need to purchase one from a certificate authority. In many scenarios, that isn’t necessary.
Cloudflare provides free Origin Server Certificates that are designed specifically for securing traffic between Cloudflare and your origin server. These certificates are not intended for direct browser trust, making them ideal for services behind Cloudflare.
I use Cloudflare Origin Certificates because:
-
They are completely free tier with lots of features
-
They can be valid for up to 15 years
-
They work perfectly for Azure and internal services
For most API and backend workloads, this is sufficient.
Creating the Origin Certificate in Cloudflare
I start in the Cloudflare dashboard for my domain and navigate to the SSL and Origin Server Certificate section. From there, I create a new Origin Certificate.
I typically leave the key type set to RSA, keep the default hostnames unless I need to scope it more narrowly, and set the expiration to 15 years. Once the certificate is created, Cloudflare provides two things:
-
The Origin Certificate
-
The Private Key
The private key is extremely important so ensure to keep it safe.
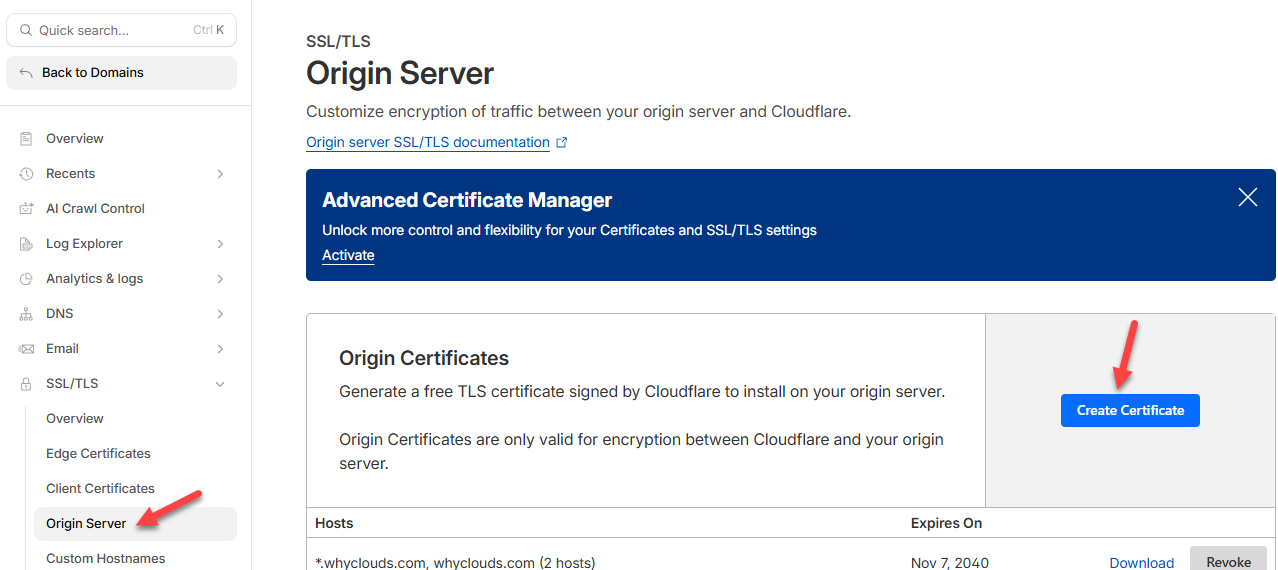
Create Origin Certificate
Preparing the Certificate Files on Windows
On my Windows machine, I save the Origin Certificate and the Private Key into two separate files.
At this point, I have everything I need except one tool: OpenSSL.
Installing OpenSSL on Windows
OpenSSL does not come installed on Windows by default, so I install it manually.
Shining Light Productions is a great place to get an installable version of OpenSSL – https://slproweb.com/products/Win32OpenSSL.html
After installing OpenSSL, I added its binary directory to the Windows PATH environment variable. This allows me to run OpenSSL commands directly from a command prompt without referencing the full installation path.
Once this step is complete, OpenSSL is fully available system-wide.
Creating the PFX File
With OpenSSL installed and my certificate files ready, I open a command prompt as an administrator and navigate to the directory containing the certificate and private key files.
Using OpenSSL, I generate the PFX file by combining the Origin Certificate and the Private Key into a single, password-protected file. During this step, I’m prompted to create and confirm a password. This password is required later when importing the PFX into Azure or another service.
After the command completes, the PFX file is created in the same directory.
Command: openssl pkcs12 -export -out certificate.pfx -inkey private-key.pem -in origin-cert.pem
That’s it! You now have your PFX file.
Final Thoughts
Creating a PFX certificate on Windows doesn’t need to be painful. By combining Cloudflare’s free Origin Certificates with OpenSSL, I get a secure, long-lived PFX file in just a few minutes.
Once you’ve gone through this process once, it becomes a straightforward part of your toolkit—especially if you work regularly with Azure, APIs, or custom domains.
If you found this helpful, feel free to bookmark it or share it with someone who’s tired of overcomplicating SSL certificate management.


Recent Comments