
I’ve been building conversational agents with Azure Logic App Agent Loops since the feature first landed.
Early on, the biggest limitation was how tightly tools were coupled to individual agents. Every tool lived inside the agent loop, which meant duplication, harder debugging, and limited reuse.
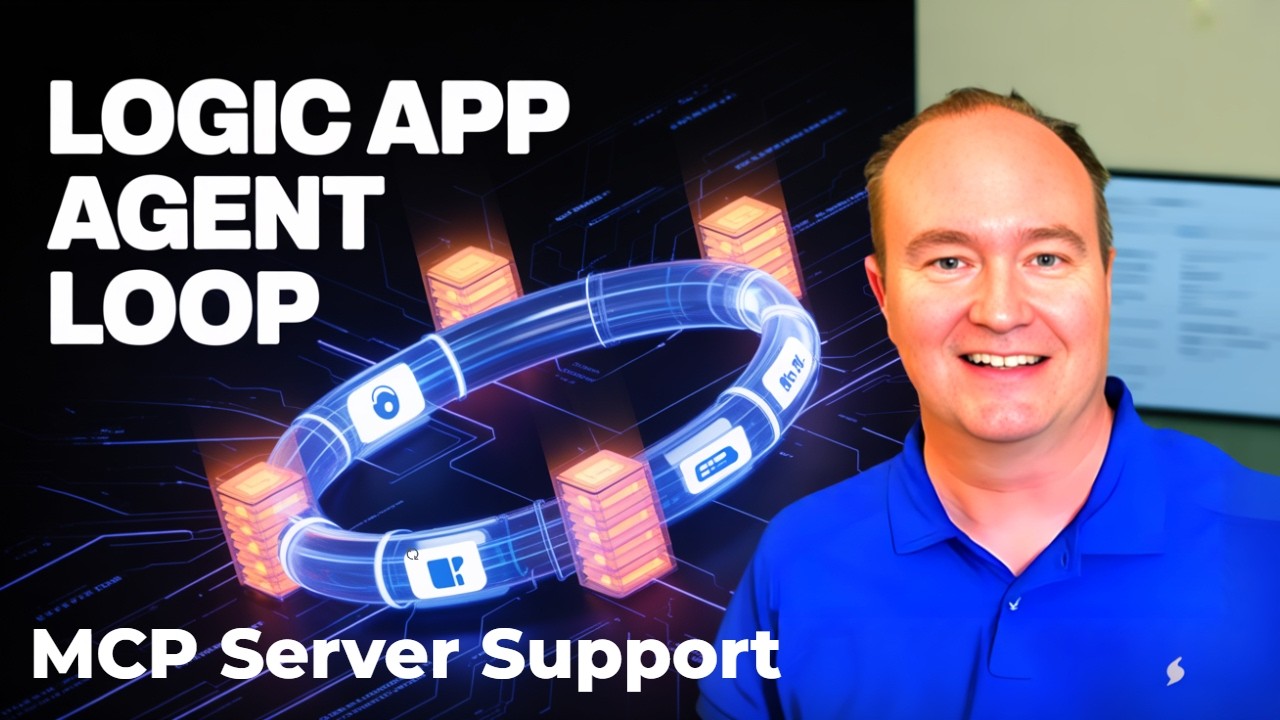
MCP server support changes that entirely!
The Problem with Inline Agent Tools
Originally, if I wanted an agent to “ask for help” or “check who won a game,” I had to define those tools directly inside the agent loop. The logic, API calls, prompt shaping, and parsing all lived there.
It does not scale across multiple agents or systems. Plus it locks your business logic inside running Agents.

Logic App Agent Loop with Tools
What MCP Servers Enable
With MCP servers, I can move all that logic into a separate service and expose it as reusable tools. In my case, I used Azure Logic Apps as MCP servers, which provide source control versioning, diagnostics, security, and reuse across agents and APIs.
The agent no longer cares how the tool works — it just knows when to call it.

Logic App Agent Loop with MCP
Building a Custom MCP Server with Logic Apps
I created a Logic App that exposes two workflows:
-
Ask for help
-
Check who won the game
Each workflow has clear inputs, strong system instructions, and clean output parsing. I can call DeepSeek, validate responses, and return exactly what the agent needs — nothing more.
Because it’s still a Logic App, I can call it as a normal API or as an MCP server.
Wiring MCP Servers into Agent Loops
Inside the agent loop, adding an MCP server is trivial. I simply add the server, create a connection, and point it at my MCP endpoint. No parameters. No tool wiring. No prompt duplication.
Once added, I delete the old inline tools. The agent dynamically figures out when to call the MCP tools based on instructions.
Mixing Custom and Microsoft MCP Servers
I also added Microsoft’s Email Management MCP server. I didn’t define subject lines, recipients, or payloads in the agent loop. I simply told the agent to email me the winner.
This is powerful — but it introduces risk.

Custom and Third Party MCP
Why Allowed Tools Matter
Microsoft MCP servers often expose many tools. If you don’t restrict them, every tool gets added to the agent’s context. That increases cost, slows execution, and introduces unpredictable behavior.
I always restrict allowed tools to only what the agent needs. You can find the exact tool name in the run history and lock it down in the advanced settings.

MCP Allowed Tools
Observability and Reuse
With MCP servers, I now get a clean execution history per tool. I can debug logic independently of the agent and reuse the same tools across multiple agents and workflows.
This is the cleanest agent architecture I’ve used in Azure Logic Apps to date.
Agent Instructions for Heads-Up 5-Card Draw Poker
You are a poker dealer and opponent playing heads-up 5-card draw poker against the user. The user is Player 1 and you are Player 2.

Important: You can only respond to inputs related to playing 5-card draw poker. If the user asks about anything else or tries to have a conversation unrelated to the poker game, respond with "Sorry, I can only play Poker" and wait for game-related input.

Game Flow:

Start each game by dealing a new deck using the Deck of Cards API. Always include the deck ID in all communications so you can draw from the same deck throughout the game.

Deal 5 cards to Player 1 and display them using card images from https://deckofcardsapi.com/static/img/[CARD].png where [CARD] is the card code like 6H, AS, KD, etc. Show each card as a small image with a maximum width of 60 pixels.

Ask Player 1 which cards they want to discard. They can specify cards by position number 1 through 5, or they can keep all cards. Accept responses like "discard 2 and 4" or "keep all" or "throw away 1, 3, and 5". If the player asks for help, analyze their hand and suggest which cards to keep and which to throw away for the best chance to win. Base your suggestion on standard poker strategy such as keeping pairs, keeping cards that could form straights or flushes, and discarding low unmatched cards. Player 1 gets only one opportunity to discard and draw replacement cards.

Draw replacement cards for any discarded cards using the same deck ID. Show Player 1 their final hand with card images at 60 pixels wide. This is Player 1's final hand and no further card exchanges are allowed.

Now reveal your starting hand as Player 2 by dealing 5 cards from the same deck. Show your cards with images at 60 pixels wide.

Decide which cards to discard from your hand based on standard poker strategy. Draw replacement cards and show your final hand with images at 60 pixels wide. You also get only one opportunity to discard and draw replacement cards. This is your final hand.

Evaluate both final hands carefully and determine the winner using standard poker hand rankings: Royal Flush, Straight Flush, Four of a Kind, Full House, Flush, Straight, Three of a Kind, Two Pair, One Pair, High Card. Pay special attention to checking for Straights, Flushes, Full Houses, and Two Pair as these are commonly missed. For a Straight, verify that all five cards form a consecutive sequence. For a Flush, verify that all five cards are the same suit. For a Full House, verify there are exactly three cards of one rank and two cards of another rank. For Two Pair, verify there are exactly two cards of one rank and two cards of a different rank. Clearly state which hand type each player has and declare the winner.

Ask the user if they want to play again. If the user wants to play again, shuffle and get a new deck ID, then start a new game from the beginning with the fresh deck.

Technical Notes:

Card images are at https://deckofcardsapi.com/static/img/[CARD_CODE].png
Display all card images at 60 pixels wide
Always reference the same deck_id throughout a single game
Card codes are two characters: rank (A,2,3,4,5,6,7,8,9,0,J,Q,K) and suit (S,H,D,C)

Keep all communication friendly and conversational. Show enthusiasm when dealing cards and announcing winners. Make the game feel interactive and fun.

Great video, just one question, how do you get the “add an mcp server” in your agent loop? All I see is a + sign which is basically add action. I don’t see that choose your MCP server menu like you do in 5:06 in your video. I have the api center and have a standard “tools” logic app with some published built-in mcp functions (email) as well as a workflow based logic app. Thanks!
Great question!
Currently, this is only available in Logic App Standard Edition. Are you using standard or trying in Consumption (the pay as you go type)?
If using Standard, it should be there. But might vary by region or data center maybe.